First things first, I'm sorry it took sooooo long for me to get this blog done. So lets start this. In the summer I took an extended studies program at the University I attended, this extended studies program was geared toward my self exploration and generally just me trying to learn how to achieve things with this medium on my own. I took an intro class the fall before and I loved it so much that I wanted to continue my litho practice. Since I had no idea where to start, I started where I left off, with prints of Bugs. The fist "test" print I did was of this tarantula, I call it a test print because I haven't done any litho since the fall and I needed something to refresh my memory. So BUGS! BUGS! BUGS! :D
Drawing on a lime stone is quite simple, you can use different grades of litho pencils or even inks, in this picture above I was drawing with a number 2 litho pencil and I gummed out areas that I wanted to stay perfectly white.
After the drawing is done, you have to process it, so in the picture above i'm talcing up my image( this was after applying resin and dusting it off). this is before you apply your etch, which is nitric acid mixed with 1 ounce of gum arabic.
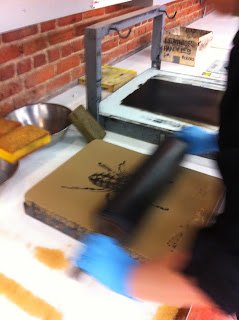
The above 7 pictures are of me doing the second etch, unfortunately I forgot to get pictures of the first etch. The first etch sets the image into the stone, making the parts of the stone that were not drawn on water loving and the parts that were drawn water repellant. after you duff the first etch into the stone, you can clean the stone with estisol, to dissolve all the litho pencil, after all the pencil is gone, you wash the stone off with water and apply ink, now before this when the stone is ready for ink the image will still be there, but it will be a faint sepia tone on the stone, once you roll up your image ( which is what I was doing in the images above) you can pour your second etch.
After the image is processed and rolled up with ink, you can move on to printing :D!


No comments:
Post a Comment